
The Best Ways To Elevate Your Product Photography
No matter which genre of photography interests you, there comes a point where you want to take your skills to the next level. Unless you’re blessed with having someone there to guide you, most of us will turn to the internet to pick up new skills and maybe a few unintentional bad habits because we don’t have anyone to ask questions to. This blog won’t be a cheat sheet of formulas to get the perfect photo, but instead, a few things to consider during your next shoot. If product photography is the niché you enjoy most, here are three things that you can do to take your photos to the next level.

Draw The Eye
When shooting products, the viewer's eye should automatically go right to the product you are showing off. They can’t be searching or confused at what they are looking at, you need to draw their eye right to the subject and there are a few ways to do that. One easy way to do that is to create depth in the image. This can be achieved with lens choice, by shooting open enough that your subject is prominently in focus with the rest of the image out of focus. Exclusively shooting products at f1.4 isn’t the answer though. You can also create depth by laying your foreground and background with props, that give depth and perspective to the image as well as frame your subject. Combine this propping with a long lens, and your out-of-focus props will effortlessly guide the eye to the subject. One final way to subliminally draw the eye is the use of leading lines. These can be objects, patterns, backgrounds, etc. that create lines pointing towards your subject. When done in a non-distracting way (no neon pointing arrows), these lines act as guides that subliminally draw the eye to the subject within.

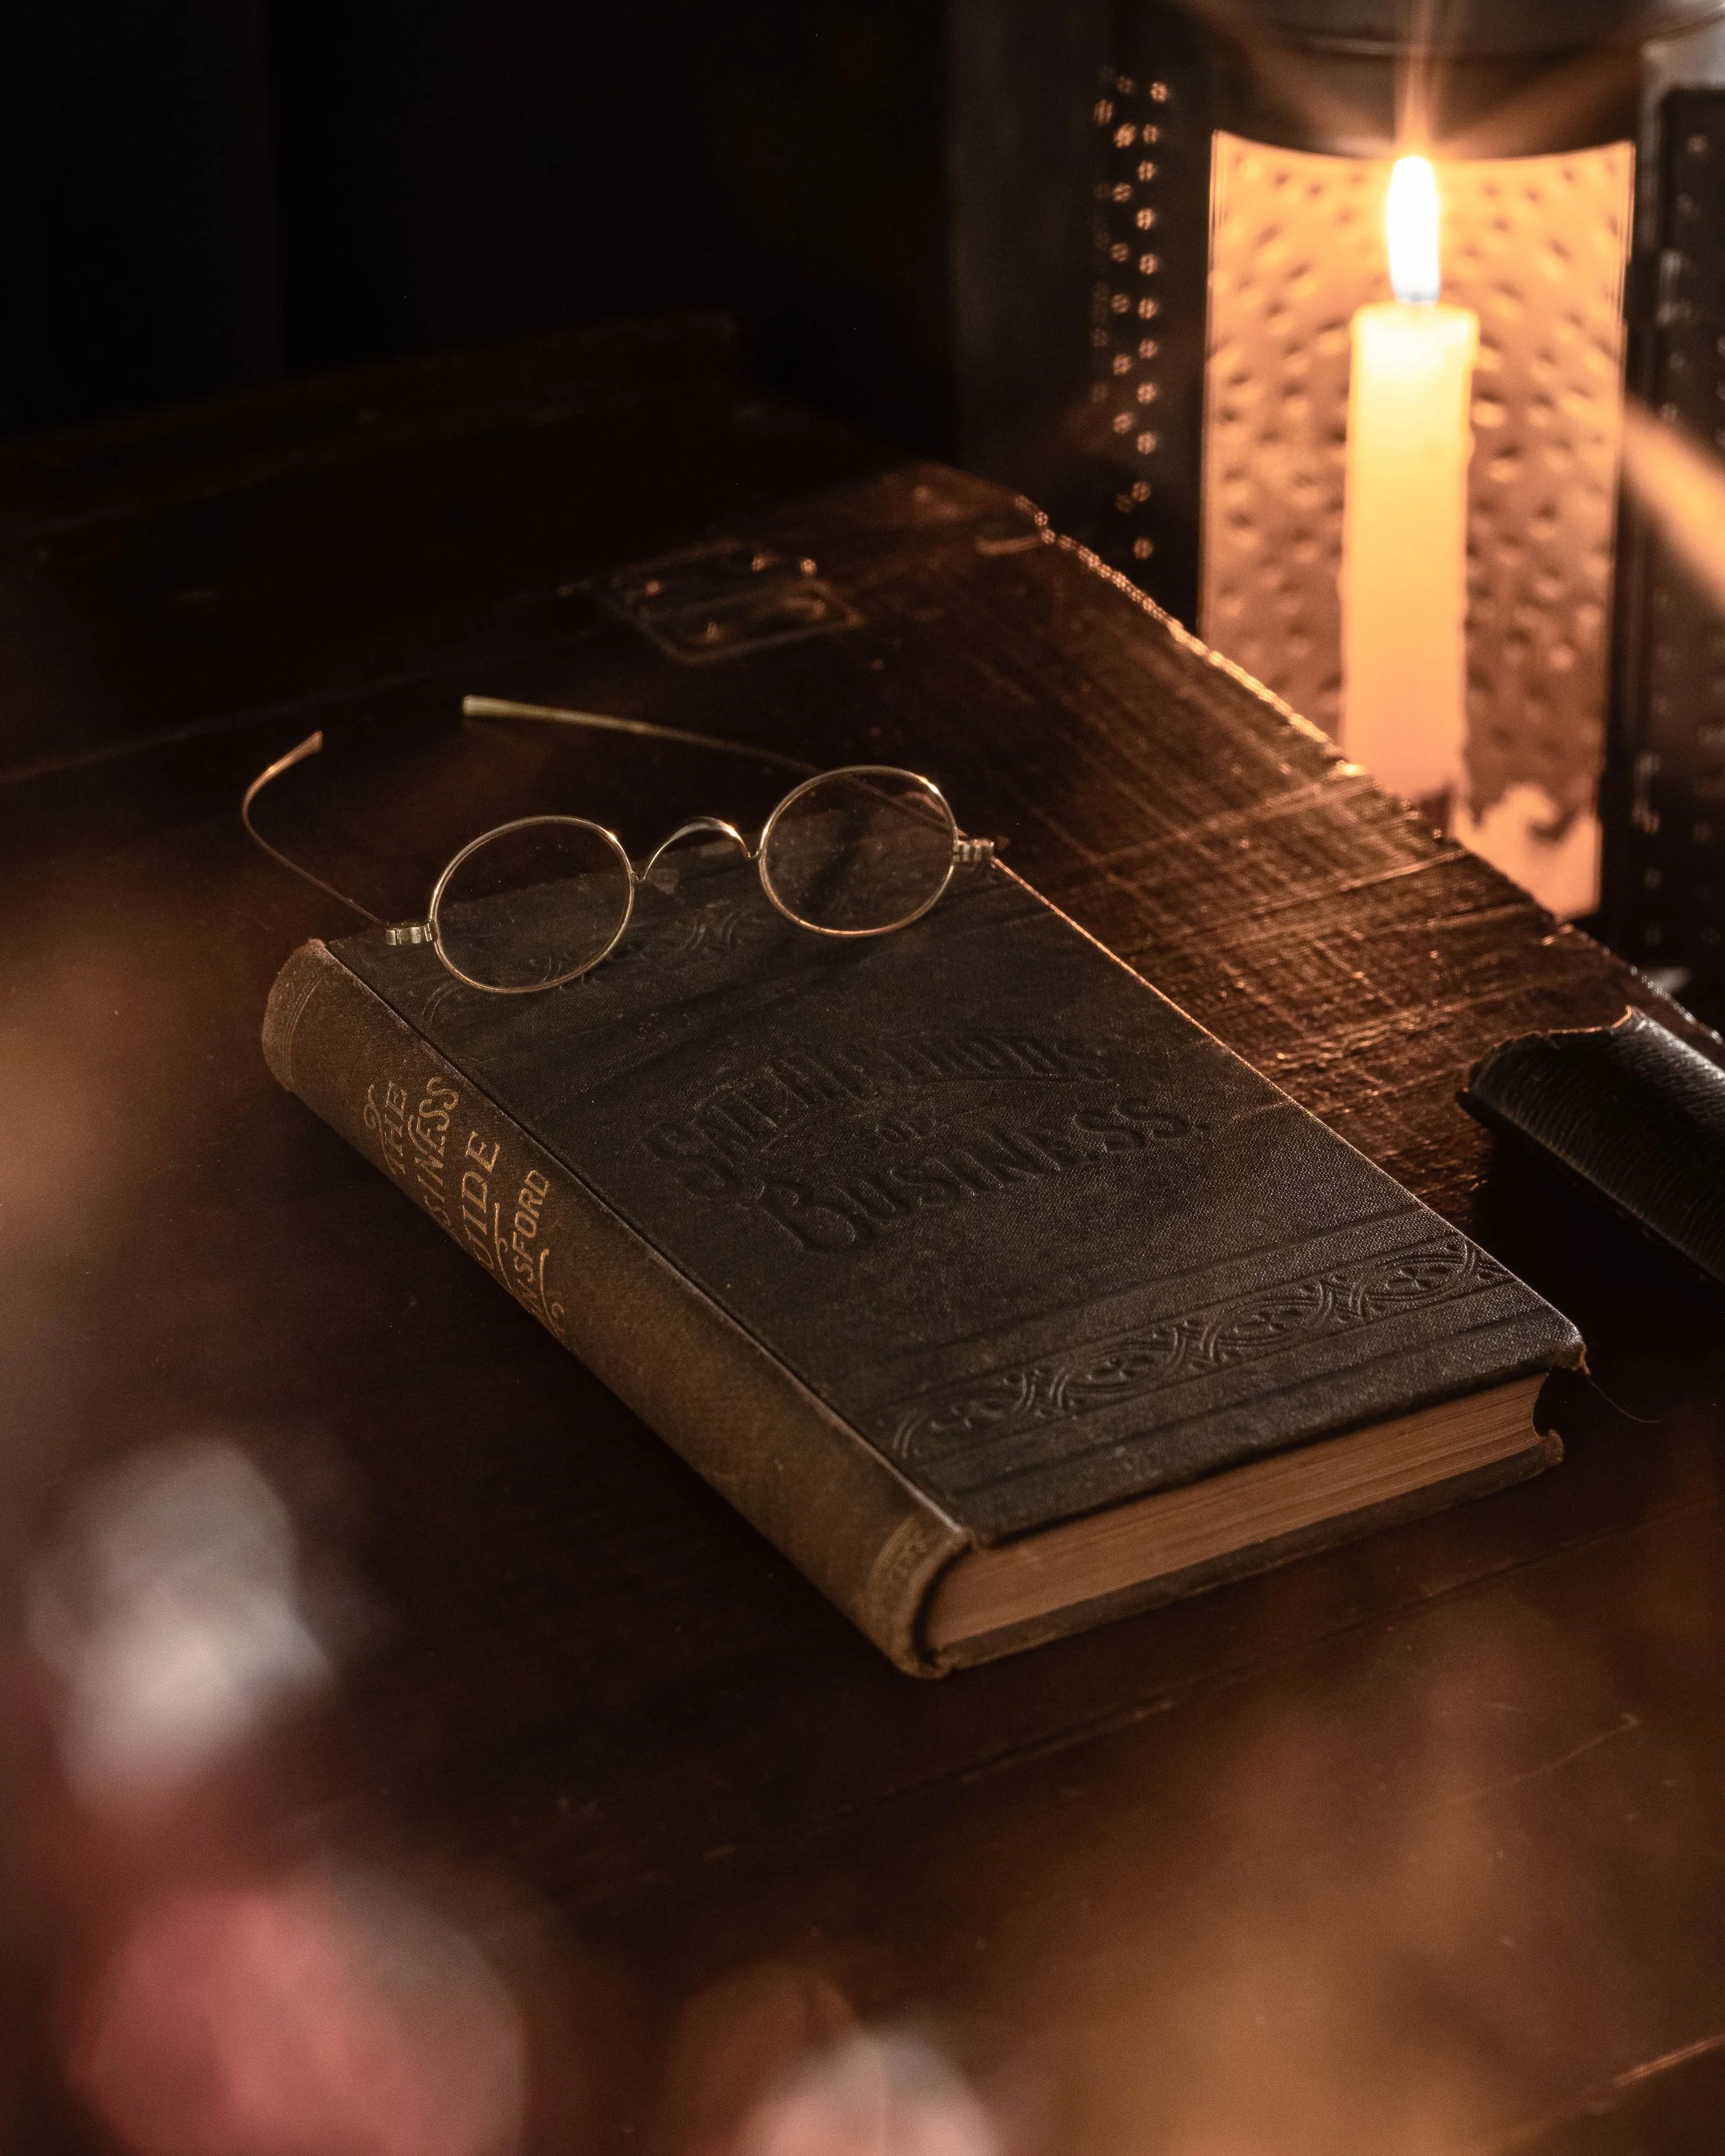
Sell a Lifestyle
So frequently products are purchased not because of how they are going to change the consumer's life, but because of the lifestyle that is associated with the product. When you photograph a product, you’re not only showing the audience a product, you’re telling them what kind of a lifestyle they can live with this product. If you are tasked with shooting the newest Gucci product, you aren’t going to use the setting of a modest home with rural features because that isn’t what you associate Gucci with. You’re going to use the finest silks, and jewelry and pick a tropical destination because that is the lifestyle associated with Gucci. More modest props fit perfectly when shooting a rustic leather wallet, so you have to pick props that will enhance the story that the product tells. When shooting a product, you aren’t just taking a photo, you are tasked with telling a story about the subject in a single frame, and props are the best aid that you have to tell that story.
Play With Your Lighting
Unless you happen to shoot the same thing, in the same setting every day, chances are you will need to change up your lighting setup. Each product has its own unique shape and texture that needs a specific kind of light to make it look its best. For example, a glass bottle looks best when lit from behind because it makes the glass glow, but if you’re lighting a hat from behind you won’t know what you are looking at because the front is dark. It is an extreme example, but it shows that different products look very different based on lighting. You rarely get the lighting perfect on the first try, so it's good to get out of your comfort zone and play with your lighting to test what looks the best. Even if you exclusively shoot with natural light, eventually you will need a reflector to fix some harsh shadows, or simply rotate the object around and move it until the light hits it in the right way. In the end, photography is all about light, so the more you experiment with lighting, the better you will understand your craft.
BONUS: Master Your Edits
We wanted to leave with one more bonus tip because it is an important and sometimes overlooked aspect. Even if you have a great photo in the camera, fixing the lighting, colour, and tiny touch-ups is essential for product photography. Editing is a tool we have to get our photos how we visualized them in our head, and also further draw the viewer into the photo. Dynamic colour combinations, vignetting, and masks help isolate the subject and draw the viewer's eye. This is not an excuse to over-edit and saturate your photos, but you should practice your editing and find a style that will leave the audience speechless.